About
Gonzaga’s Jesuit, Catholic, Humanistic education will challenge and inspire you.
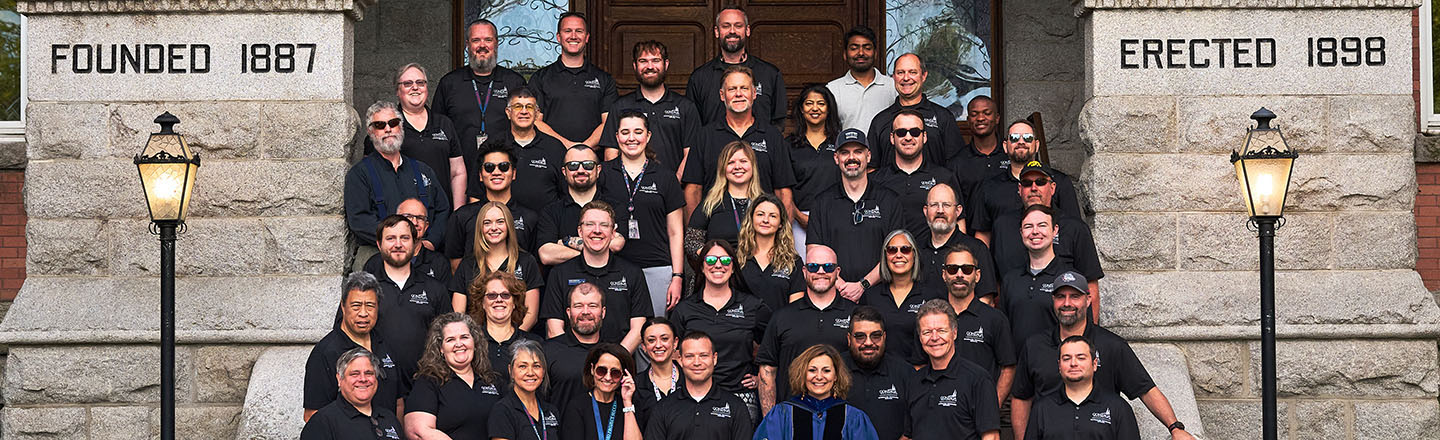
Information technology has increasing potential to help Gonzaga University's students, faculty, and staff achieve and improve the quality of teaching and learning, research, scholarship, and service. Information Technology Services (ITS) sees ourselves as partners with the university community as we work towards these aims. We support Gonzaga’s mission to educate men and women for others and to develop the whole person. In addition, we believe that technology presents a unique opportunity for our community to go beyond our campus and educate the world.

Gonzaga's ITS Mission is to leverage technology to support the University mission and educate the world. Our vision is to be recognized as the leading technology organization in Higher Education. Our values are Integrity, FUN, Collaboration and Empathy.

In April of 2021, the Information Technology Services (ITS) organization began a concerted effort to understand Inclusive Excellence and to take steps to improve our behavior and results. After taking DiversityEdu training, we realized we have much more to learn and much further to go, but we are going to make steady progress. Inclusive Excellence is the recognition that ITS and Gonzaga’s success is dependent on how well it values, engages, and includes the rich diversity of its students, staff, faculty, administrators, and alumni constituents. This is non-negotiable for us, because:
Critical our success in achieving inclusive excellence is the IT Services Inclusive Excellence Climate Ambassador Team, whose work energizes our efforts to mature in this area. This team provides sponsorship and assistance for specific inclusive excellence tasks and programs, but most importantly provides a safe place to explore inclusive excellence topics.
To serve our community it takes a community – the whole community. We are committed to becoming a model of inclusive excellence in Information Technology Services, and we welcome your comments, questions, and suggestions.
--Inclusive Excellence Climate Ambassador Team
In 2024, Gonzaga University embarked on a transformative journey to modernize its IT support model b...
Gonzaga University's ITS Networking team, a three-person unit known for its reliability and collabor...
Student Outreach and Support fosters collaboration and integrates technology to deliver an enhanced...